Arlo Camera Setup
Arlo Login – Arlo camera setup is the ultimate way to remotely manage the areas of your place. With the ‘My Arlo login app’ a user can get full control over what’s happening at their place. Easily customize the camera according to your needs by going through the Arlo camera login. Arlo login is an easy process and can be done with the my.arlo.com web address or via my Arlo app on your Smartphone. We at Offlinemmy-logn will give you support for the Arlo camera login, Arlo sign in, Arlo login account, Arlo login problem, and more. Go through the easy and simple steps to complete the Arlo camera setup and Arlo login with no hassles.
Arlo Camera Login
When you need a solution for your home or commercial surveillance, having access to Arlo cameras is a good option. However, having access to these solutions only is not enough. You should know how to set things up and get them running. And, to do that, you will need to log into your Arlo camera and configure the settings. This page will cover the steps to complete the Arlo Camera login process and get done with the camera setup in no time. You’ll also find information on ways you can troubleshoot issues associated with the login page.

Arlo Login Using My.arlo.com Account Page
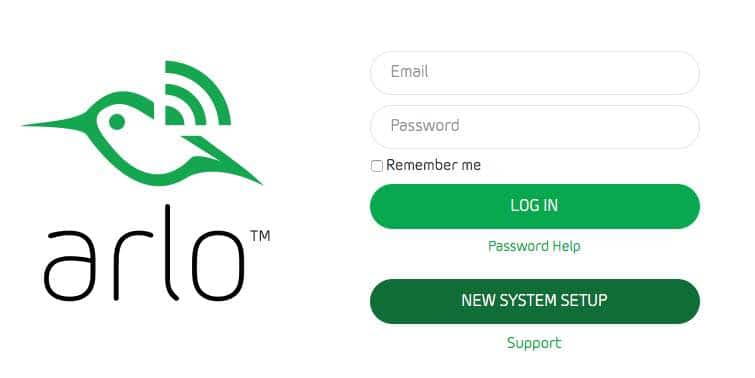
- The Arlo login process starts with creating an Arlo account.
- Launch a web browser and in the address bar, type my.arlo.com. You can get the Arlo app on the Smartphone from this link.
- On the next prompt, you will be asked to select the ‘Create Account’ button. Next, a form will appear.
- Provide the prompted details like your email id and the password.
- Your Arlo account is now created and you can log in to your Arlo login account with ease.
- You can now set up your Arlo camera. Open your Arlo App and follow the on-screen instructions to get done with the same.
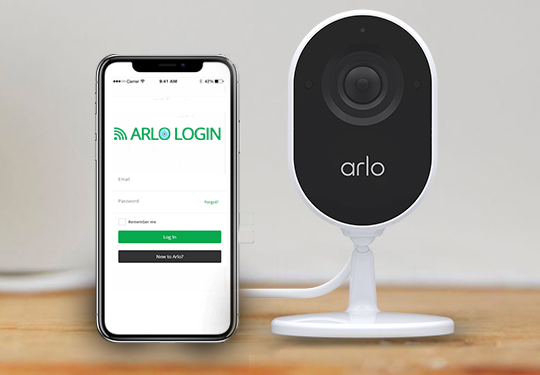
Arlo Camera Login Via Arlo App
- Open the ‘Arlo app’ on your Smartphone and tap on the ‘Arlo camera’ icon.
- Then, Arlo login page will appear, and tap on the ‘Sign in’ option.
- Next, enter the email address and password on the login page.
- Then, make sure you enter the same credentials that you used while creating an Arlo account.
- In the end, tap ‘log in’ to access the Arlo camera setup page.
Steps For Arlo Camera Login Setup
- Attach the Arlo Base Station to your WiFi router using an Ethernet Cable.
- Connect the power AC Adapter to the base station and then plug it into an electrical outlet.
- If your base station has an on/off switch, press the same so the system can turn itself on.
- Insert high-quality batteries into your Arlo Camera.
- Slide and hold the cover on the bottom and lift the same up. Insert the batteries and close the lid back.
- Now, to sync your camera with the base station, bring the two close to each other. Now, press the sync button on the base station for about two seconds.
- Wait for the Sync status LED on the base to turn light green. At this moment, hold down the Sync button of the Arlo Camera for a few seconds.
- Blue color LEDs will start to blink slowly. When it starts to blink rapidly, sync is complete.
- You will also notice the camera LED on the base station turn solid green upon completion of the sync process.
- You can repeat the above steps to sync as many Arlo Cameras you want with the base station.
Steps for My Arlo Camera Login
- Arlo Camera provides you with a dedicated portal to configure your Arlo camera system.
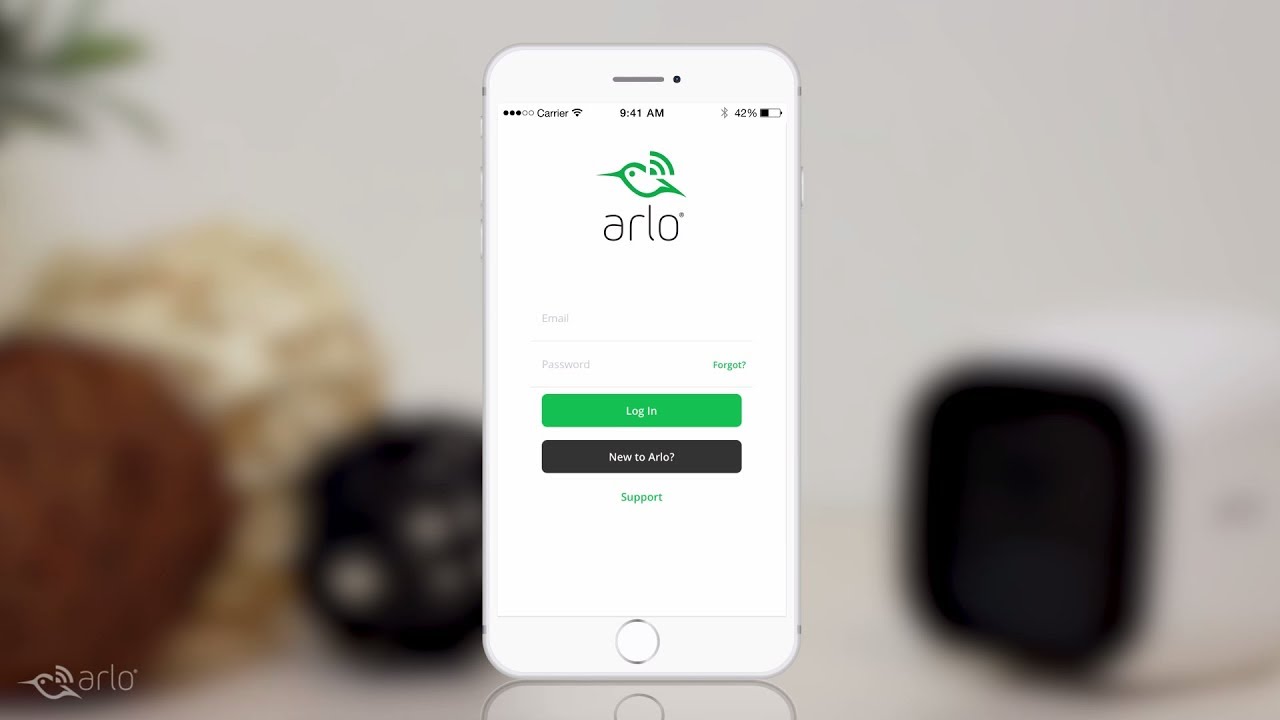
- Open the installed Arlo App.
- You will now be redirected to the Arlo camera login page. You’ll see the username and password fields on the screen.
- Use the default access credentials and you’ll reach the Arlo camera login page online.
- You can now follow the on-screen instructions to proceed with the rest of the camera setup procedure.
Having Issue With The Arlo Camera Login Process ? Call Now
- The Arlo camera login process is easy using the steps as discussed on this page. If you still face issues with logging in to the My Arlo Camera management wizard, you can check for the following things:
- Check the status of the LED lights on the camera. Different LED colors indicate a different status. Make sure you check for the same and resolve any issue by following the steps in our Arlo Login troubleshooting guide.
- See if your camera and smartphone are connected to the same network. If not, connect them together using the setup method as discussed in our blog section and proceed with the login.
- Power cycle your camera and connected devices. Power cycling the devices will remove any bugs that might be causing trouble with the Arlo login page access.
- Check if the installed antivirus/firewall is causing trouble while accessing the login page. Disable the same temporarily and re-enable the same once done.
How To Setup Arlo Pro3 Camera ?
- Firstly, set up Arlo Pro 3 base station.
- Then, create an Arlo login account.
- Now, set up and sync Arlo camera.
- Finally, update the Arlo firmware and position them.
- To get started, you will be required to download the Arlo app on your smartphone. The Arlo app lets you set up the Arlo camera easily and helps monitor your property. The app is available both on Google Play Store and Apple App Store.
Download Arlo App
- You can download the app from all the leading app stores including the Google Play Store and Apple App Store. You can launch the same on your smartphone and install the app. here are some steps you can follow:
- To start with, launch the Google Play Store/Apple App Store on your smartphone.
- Search for the ‘Arlo’ app on it and tap on the Magnifier icon on the search tab.
- The app will now return the results. Finally, select the Arlo app listing and then click on the Install button.
- The app will now be installed on your smartphone. Once installed, you can launch the app and proceed with the further installation steps.
Setup Arlo Pro Base Station
- Connect one end of an Ethernet cable into the base station and the other end into the router. After that, plug the power adapter to the power outlet and press the On-Off button on your base station. Allow some time for the device to boot up.
- Click on the ‘Continue’ button in the app.
- The app will now scan for and automatically detect your base station.
- On the next screen, choose the ‘Time-Zone’ option and mark your selection.
- Now, tap on the ‘Save’ button you see on the screen.
- Finally, give a name to your base station.
Create An Alro Account
- Launch the Arlo app and from the login screen, and tap on the Create Account button.
- Subsequently, you’ll need to provide your email address and password.
- Then, type the required details in the fields specified.
- Now press the ‘Next’ option on the screen. As a result, you will see the success message on the screen.
Sync Arlo Pro Camera To Arlo Base Station
- First, place your Arlo camera within 3 feet of the base station.
- Then, hit ‘Continue’ in the app.
- Now insert the batteries in your Arlo pro camera. Allow some time for it to boot up.
- Press the ‘Sync’ button on the base station for 5 seconds.
- Again, press the ‘Sync’ button on the Arlo camera.
- The devices will connect with each other. Once they have connected, press ‘Continue’ in the app.
- Finally, click on the ‘Finish’ option.
- At the end you can click on ‘Add more devices’ if you want to add more Arlo cameras to the base station.
Also Read – 1. How Do I Login To Arlo Camera
2. Arlo Subscription Plans
Disclaimer : www.offlinemmy-logn.com is a independent customer service help and guider for the product which mentioned on the website and it is not directly or indirectly associated with any brand. The use of third party trademarks, logos, brand names, products and services are only for references instructive purpose.